



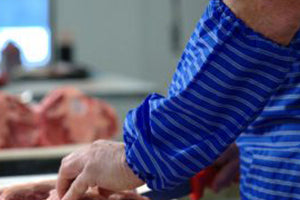

You're probably dealing with this right now. A bench has just been wiped down, a mincer is waiting for the next batch, someone has stepped out of the raw room and reached for packaging, and an apron that looked clean at first glance is already wet through at the front. That's how cross contamination starts in real workplaces. Not with one dramatic mistake, but with small transfers that stack up fast.
In butcher shops, abattoirs, and commercial kitchens, the biggest problems usually aren't the obvious ones. The importance of washing hands and cleaning boards is generally recognized. What gets missed is movement. Movement of people, tools, waste, drips, and soaked workwear. If you want to know how to prevent cross contamination, you have to control that movement before it reaches finished product.
Table of Contents
- Understanding Cross Contamination Risks
- Setting Up Zoning and Workflow Separation
- Establishing Cleaning and Sanitation Schedules
- Choosing the Right PPE and Aprons
- Managing Tools Equipment Cold Chain Storage and Packaging
- Training Staff and Integrating HACCP Standards
- Practical Checklists SOPs and Audit Tips
Understanding Cross Contamination Risks
A common workshop failure looks harmless at first. A tub of raw trim is moved under a table, juices drip onto the floor, a boot tracks that moisture past the wash area, and a staff member leans against a clean bench while resetting trays. Nobody sees a major spill, so nobody stops production. Later, a swab comes back dirty and everyone starts hunting for the cause.
That's why risk assessment matters. In Australian meat processing facilities, strict physical separation between dirty operations and clean operations with one-way flow is mandatory to prevent cross-contamination, and environmental swabbing regularly detects pathogens when separation fails, as outlined in Australian guidance on contamination prevention in meat processing.
The touchpoints that usually get missed
The highest-risk points are often ordinary contact points rather than major equipment. Think about:
- Apron fronts: They brush benches, bins, rails, and carton edges.
- Handles and latches: Cool room doors, mincer controls, hose reels, trolley grips.
- Underside contamination: Table frames, wheel castors, drain lips, and boot soles.
- Shortcuts between jobs: A worker leaves trimming to help with packing “for a minute”.
A butcher shop sees this in a smaller footprint. An abattoir sees it at scale. A commercial kitchen sees it during service pressure, when raw prep and ready-to-eat handling start overlapping.
Practical rule: If a person, tool, apron, or wheel can move from raw work into clean work without a reset, you already have a cross contamination pathway.
A simple way to assess the risk
Walk the site in product order, not room order. Start where raw product arrives and end where finished product leaves. Then ask four direct questions:
- What can drip here?
- Who crosses this line?
- What gets touched without cleaning?
- What would happen if raw meat juice reached this point?
That last question matters most. A drain near a raw bench is a cleaning problem. Raw splash near slicing, portioning, or packaging is a product protection problem.
Write down the answers by zone. Don't rely on memory. Good supervisors mark traffic paths, handwash points, apron change points, and tool parking spots directly onto a site sketch. It doesn't need to be fancy. It needs to be usable on a busy shift.
Setting Up Zoning and Workflow Separation
Good contamination control starts before the first knife comes out. If the room layout encourages crossing back and forth, staff will cross back and forth. If waste comes out the same way finished product goes forward, someone will eventually mix those paths.

Under Standard 3.2.2 of the Food Standards Code, spatial separation is mandatory for raw and ready-to-eat products; where physical separation is impossible, temporal separation with full sanitisation cycles is required to avoid a 34% higher incidence of Listeria cross-contamination, according to the Food Standards Code material on Standard 3.2.2.
Start with the floor plan
For a new facility, set three clear zones and keep them honest:
- Raw handling zone: receiving, opening cartons, trimming, bandsaw work, mincing.
- Post-wash processing zone: any area where product, equipment, or containers are expected to be in a reset state.
- Packaging zone: sealing, labelling, boxing, and dispatch staging.
The key is one-way flow. Product moves forward. Waste moves out separately. Staff don't bounce between raw and clean tasks unless there's a defined break, wash, and change step.
Use physical cues that workers can follow without thinking too hard:
- Floor markings: traffic lanes for staff and trolleys.
- Barrier points: strip curtains, swing gates, or fixed partitions.
- Colour by zone: workwear, aprons, brushes, squeegees, tubs, and bins.
- Entry controls: handwash station and PPE point at every boundary that matters.
A Queensland-style mistake shows up often in retrofitted sites. Packaging gets placed “where there's room”, which usually means beside a prep bench that was built for raw handling. That saves steps for one operator and creates a contamination bridge for the whole site.
When the building won't cooperate
Older shops and mixed-use kitchens rarely have perfect walls in the right places. In those sites, temporal separation is what keeps the operation compliant and workable.
That means one run at a time. Raw first or ready-to-eat first, depending on the site plan, but never overlap. Between runs, teams need a complete clean-up, sanitisation, and a hard reset of aprons, clothing, footwear, tools, and mobile equipment.
A temporary barrier only works if staff treat it like a boundary. If they step around it with the same apron and the same trolley, it's only decoration.
A practical retrofit usually includes:
- Dedicated processing windows for raw and RTE work.
- Locked staging points for clean packaging stock.
- Separate waste removal timing so bins don't cross clean traffic.
- Restricted personnel movement with one supervisor responsible for releasing the next stage.
If you're tightening apron selection by zone, a useful technical comparison is this guide on TPU vs PVC food processing aprons. The material choice affects whether the barrier stays a barrier once the shift gets wet.
Establishing Cleaning and Sanitation Schedules
Cleaning only works when the schedule matches the risk. “Clean as needed” sounds flexible, but it usually means different things to different people. In a meat room, that creates dead spots. A mincer throat gets done, but not the collar. A bandsaw blade gets attention, but not the guide. The bench looks clean, while the cloth used on it has already been through three zones.
Australian requirements are blunt on this point. Equipment contacting food must be cleaned and sanitised at least every four hours, and colour-coded utensil systems with 4-hour sanitation cycles reduce cross-contamination by 62% compared to non-coded protocols, as detailed in Brisbane City Council's food processing and cross-contamination guidance.
Build the schedule around risk
Don't give every item the same frequency. A drain line, a hand-contact latch, and a vacuum chamber don't carry the same hazard and shouldn't sit on the same cleaning rhythm.
A practical setup looks like this:
- High-risk food contact items: bandsaws, mincers, slicers, chopping boards, packing benches. These sit on the strictest routine.
- High-touch non-food contact points: handles, switches, push plates, taps, trolley grips. These need frequent attention because staff spread contamination through hands and gloves.
- Zone support items: brushes, cloths, squeegees, tubs, aprons. These need clear assignment and separation, not just occasional washing.
Colour coding helps, but only when it's matched to discipline. A red brush that gets borrowed into a clean area is worse than a plain brush that never leaves its station.
Sample Cleaning and Sanitation Schedule
| Zone | Task | Frequency | Responsible |
|---|---|---|---|
| Raw prep | Clean and sanitise bandsaw table, blade area, guides and handles | At least every four hours and after raw processing changeovers | Butcher or line operator |
| Raw prep | Disassemble mincer contact parts, wash, sanitise and air dry | At least every four hours and at end of run | Processing operator |
| Clean processing | Clean and sanitise cutting tables, scales and control buttons | At task change and scheduled sanitation interval | Leading hand |
| Packaging | Wipe and sanitise sealing bench, touchpoints and tray staging surfaces | Before start-up and after interruptions | Packing operator |
| All zones | Replace or sanitise colour-coded cloths and tools assigned to each area | During shift as required by use and contamination status | Hygiene staff |
| Floor and drainage | Remove debris, wash down, apply sanitiser according to site procedure | End of shift and after contamination events | Hygiene team |
What keeps the schedule from failing
The weak point is usually follow-through, not knowledge. Teams skip steps when production pressure rises or when the cleaning sheet is too vague to audit.
Use these habits instead:
- Name the exact item: “Mincer throat and feed tray” beats “Mincer”.
- Leave space for initials and time: if nobody signs it, nobody owns it.
- Separate wash from sanitise: they aren't the same task.
- Require air drying where applicable: wet stacking and rushed reassembly undo good cleaning.
The best sanitation chart is the one a tired operator can follow correctly at the end of a hard shift.
Choosing the Right PPE and Aprons
Most cross contamination advice stops at hands and gloves. That's incomplete for meat work. In wet rooms, the apron front often carries more contamination risk than the hands because it contacts benches, trays, rails, cartons, and the operator's own body across the shift.
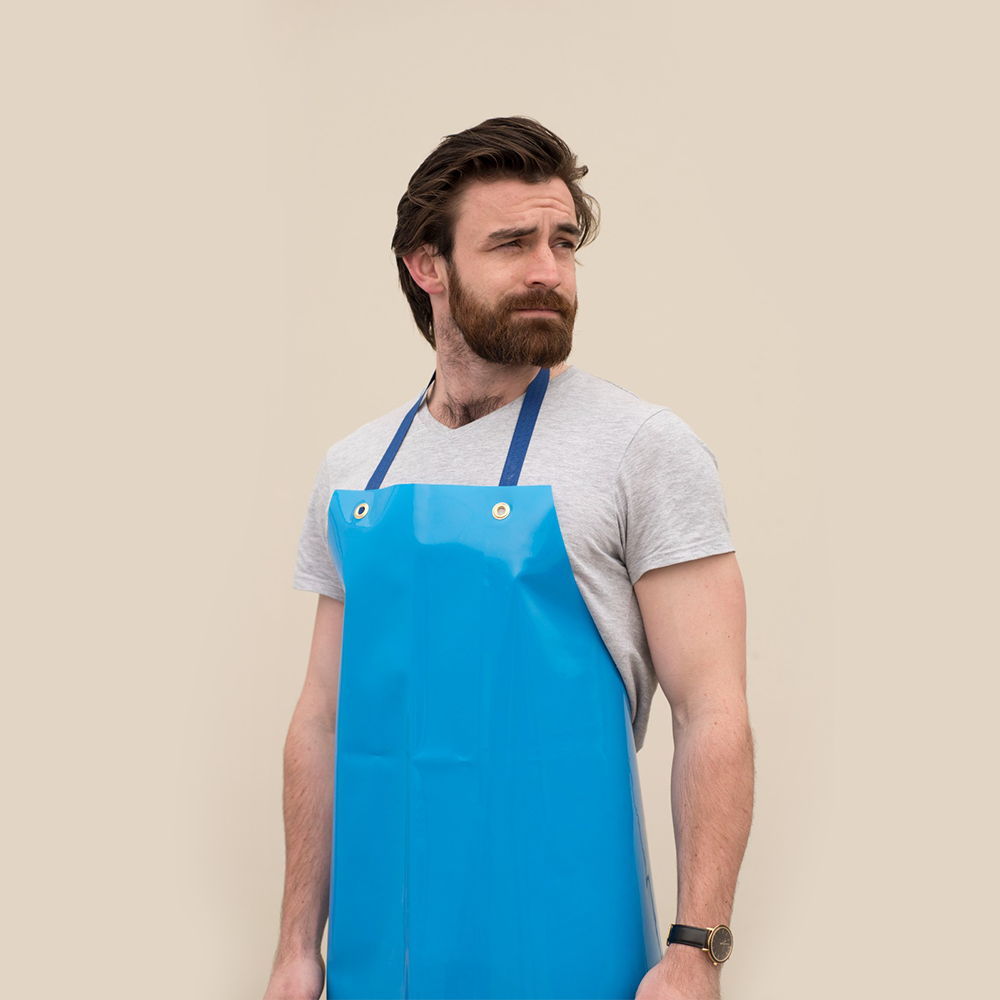
Australian guidance makes the gap obvious. Standard cotton aprons absorb fluids and harbour bacteria, while TPU and PVC aprons maintain a hygienic barrier in wet zones, according to Queensland Health guidance on cross-contamination controls.
Why apron material matters
Once an apron absorbs fluid, it stops being a barrier. It becomes a moving surface that can spread contamination from one point of contact to the next. That's the part many teams miss.
In a butcher shop, that might mean a soaked cotton apron brushing a wrapping bench after raw trimming. In an abattoir, it might mean fluid transfer from a wet kill-side task into a cleaner downstream area during a rushed handover.
The practical rule is simple. Use non-porous, washable materials in wet food-processing areas. Save absorbent fabrics for jobs where food-contact risk and fluid exposure are low.
Comparing common apron materials
| Material | Where it works | Where it fails | Practical view |
|---|---|---|---|
| Cotton | Front-of-house, light hospitality tasks, dry service | Wet raw meat handling, wash-down areas, splash zones | Comfortable, but poor as a contamination barrier when wet |
| PVC | Wet processing, general splash protection | Can feel stiffer in some tasks | Good barrier material and easy to wipe down |
| TPU | Meat processing, repeated wash-down, zones needing flexibility | Requires the right thickness and fit for the task | Strong option where comfort and cleanability both matter |
| Waxed canvas | Some workshop and low-moisture tasks | Heavy wet food processing where full sanitisation and fluid resistance matter most | Durable, but not my first choice for high-fluid meat rooms |
| Leather | Non-food industrial protection | Food-grade wet zones | Not suitable for sanitary food-contact environments |
Don't stop at the apron itself. The fastening system matters too. If ties drag, hooks snag, or straps force workers to adjust constantly, they touch the front more often and contaminate hands more often.
A few assignment rules work well on the floor:
- Raw zone: waterproof apron, dedicated to that zone only.
- Post-wash clean work: fresh apron after reset.
- RTE or packaging support: separate apron never used in raw handling.
- Task crossover: change apron, don't just rinse it.
Gloves matter, but gloves aren't a substitute for apron control. If the glove is clean and the apron front is contaminated, the operator still carries risk into the next task.
Managing Tools Equipment Cold Chain Storage and Packaging
Cross contamination often slips through at the handoff points. A tool is put down in the wrong place. A tray goes into the cool room uncovered. A pack seals well enough to pass a quick glance, but leaks in storage. These aren't separate problems. They're one chain.

Refrigerated meat must be stored at 4°C or colder and frozen meat at -18°C or colder, with raw meats on the lowest shelf in leak-proof containers to prevent drip-mediated cross-contamination, as set out in Food Safety Australia's safe meat handling guide.
Keep tools under control
Tools need a home, a user, and a reset point. If they float around the room, they carry contamination with them.
A workable system usually includes:
- Dedicated parking points: knife racks, scabbards, hooks, or shadow boards by zone.
- No bench-edge storage: operators love the nearest flat spot, but that's where transfer happens.
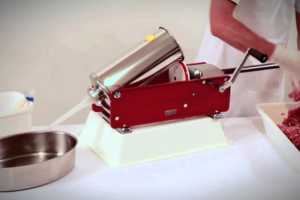
- Disassembly discipline: mincers, slicers, and fillers need full access to internal contact surfaces.
- Separate cleaning gear: brushes for product surfaces should never become drain or floor brushes.
Porous cleaning items are a bad bet in meat retail as well. The MLA guidelines for safe retailing of meat and meat products state that porous items like rags and wooden-handled tools are prohibited because they harbour bacteria, and that brushes for product and non-product surfaces should be separate and colour-coded.
If a brush can clean a bench and then a drain, it's not a cleaning tool anymore. It's a transfer tool.
Cold storage and packaging discipline
Cold rooms don't fix contamination. They only slow growth when temperature is under control. If raw product is stored badly, the fridge preserves the mistake.
A solid storage routine looks like this:
- Raw product low: always on the lowest shelf.
- Leak control first: use rigid, leak-proof containers.
- RTE and packaging stock protected: keep them away from raw splash and handling traffic.
- Airflow maintained: don't pack cartons so tightly that cold circulation is blocked.
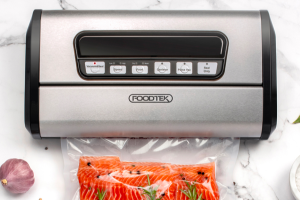
On the packaging line, treat every seal as a barrier, not just a presentation detail. Leaking bags, poorly seated vacuum pouches, and contaminated sealing bars can spread fluid where the team assumes product is protected. If you want a practical refresher on bag choice and setup, this guide on how to use vacuum bags is a useful reference for handling and sealing workflow.
One more point that gets missed. Packaging materials themselves need clean staging. Don't park sleeves of bags or trays where raw aerosols, wet aprons, or trolley splash can reach them. Teams often focus on the product and forget the packaging becomes part of the food-contact environment the moment it opens.
Training Staff and Integrating HACCP Standards
Most sites don't fail because nobody has heard of cross contamination. They fail because staff know the rules in general and miss them during task changes. A worker finishes raw prep, helps with packing, returns to the raw bench, then grabs a hose. Each step feels small. The combined sequence is the problem.
Training has to match those real sequences. It can't live only in induction paperwork.
Train for task changes, not just induction day
A useful training block is short, repeated, and built around the points where operators switch roles. Focus on behaviour that can be observed on the floor:
- Handwashing standard: wash hands with warm, soapy water for at least 20 seconds before and after handling food and before changing task type.
- Apron and clothing changes: especially when moving between raw and ready-to-eat or clean zones.
- Glove replacement: treat gloves as single-task barriers, not all-day protection.
- Traffic discipline: who may enter which area, and in what order.
The handwashing and clean-apron requirements are reflected in Food Safety Australia's overview of cross-contamination controls. That makes them practical training anchors because they're simple to observe and correct.
Run refreshers on the floor, not only in a meeting room. Stand beside the handwash station. Watch apron changes at shift crossover. Check whether the operator knows where the clean tools start and where the used tools go. If they hesitate, the SOP is probably too abstract.
Make HACCP visible in the shift
HACCP works when staff can point to the control, not just name the acronym. Build the critical points into everyday handovers:
- Start-up check: zone status, sanitation release, tool status, apron allocation.
- Mid-shift verification: swab points, temperature checks, cloth and utensil control.
- Changeover release: stop, clear, clean, sanitise, reset PPE, then resume.
- Close-down review: record issues while they're still fresh.
Sites that want a practical example of supplier-side food safety alignment can review PSC Trading's HACCP commitment in Australia, but the ultimate test is still internal execution. Auditors don't score intentions. They score evidence.
Train the exact movement you want. “Stay clean” is vague. “Wash, change apron, enter through the blue gate, use only blue tools” is enforceable.
Practical Checklists SOPs and Audit Tips
The cleanest sites usually aren't the ones with the longest manuals. They're the ones with the clearest daily controls. Staff know what gets checked, where it's recorded, and who signs off before product moves.
What to keep on paper and on the wall
Keep the core documents simple enough to use under pressure:
- Daily checklist: handwash stations stocked, zone barriers in place, aprons assigned by area, tools in the correct stations, cold room temps checked, packaging stock protected.
- Weekly checklist: deep clean of hard-to-access equipment parts, review of traffic flow issues, inspection of aprons and PPE for wear, verification that colour coding is still intact.
- Monthly checklist: full facility walk, drain and support-surface review, SOP updates after process changes, document review before audit season.
For new equipment, a short SOP should cover installation location, cleaning method, disassembly points, zone assignment, and restart release. If a new vacuum machine or mincer arrives and nobody updates the procedure, cross contamination risk rises before the first full shift is done.
Audit prep is mostly housekeeping with evidence. Photograph barrier zones, keep sanitation records readable, and make sure the floor reality matches the paperwork. If the SOP says separate brushes by zone, the audit will check the brush, not the policy.
How to prevent cross contamination comes down to disciplined separation, reliable cleaning, the right apron materials, controlled storage, and training that reflects what staff do. If one of those pieces is weak, contamination finds it.
If you need food-processing aprons, PPE, meat-processing equipment, vacuum bags, or packaging suited to butcher shops, abattoirs, and hospitality sites, PSC TRADING Co PTY LTD supplies Australian-made apron options and a broad range of processing and hygiene products for wet and high-throughput environments.
