



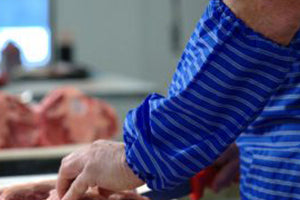

You're standing at the bench before sunrise with a carcass to break down, a couple of kitchen knives, and nowhere obvious to put the trim. The meat is cold, the room is warming, and the first question isn't whether you can make a clean cut. It's whether your tools, surfaces, storage and cleanup routine will keep the whole job under control.
Good home butcher supplies turn a difficult session into an organised workflow. The right setup protects the meat, your hands and your clothing, while reducing waste and making every portion easier to label, chill and store. In Australia, that practical approach also needs to account for food-safety requirements and the legal limits around home-kill meat.
Table of Contents
- Why Home Butcher Supplies Matter More Than You Think
- Core Equipment for Breaking Down and Processing Meat
- Choosing the Right Aprons and Protective Gear
- Consumables and Packaging That Keep Meat Safe
- Setting Up Your Workspace for Safety and Efficiency
- Legal and Compliance Boundaries Every Home Butcher Must Know
- Building Your Home Butcher Supplies Checklist
Why Home Butcher Supplies Matter More Than You Think
A first home breakdown often starts quickly. You clear the kitchen bench, sharpen a knife, spread out a board and bring the meat inside. Within minutes, fat is coating the handle, packaging is in the way, the board is too small for the larger cuts, and the waste bowl is nowhere near your working hand. By the time you reach the mince, the job feels rushed rather than controlled.
That pressure creates avoidable problems. A knife gets left under a towel, trim sits out while you search for bags, and raw-meat tools end up beside items used for ready-to-eat food. A proper setup doesn't need to copy a commercial boning room, but it does need to make the safe action the easy action.

Small-scale processing is part of the Australian picture
Australia's official livestock statistics have long included country butchers and other small slaughtering establishments. The Australian Bureau of Statistics explanation of slaughtering and meat-production collections notes that monthly reporting comes from abattoirs and major slaughtering establishments, while animals slaughtered on farms, by country butchers and by other small establishments are also estimated.
That history matters. Australian meat handling hasn't been limited to large industrial plants. Independent processors, rural operators and small-scale handlers have always formed part of the broader supply chain, so equipment such as knives, aprons, casings, vacuum bags and hygiene supplies has a practical place outside a large factory.
The market relevance is also clear from household demand. Meat & Livestock Australia's 2024 consumption reporting recorded average Australian consumption of 22.4 kg of beef per person and 7.0 kg of sheepmeat per person, compared with global averages of 6.0 kg and 1.4 kg respectively. The same source reported that 92% of Australian households purchased beef and 72% bought lamb in 2024.
Practical rule: Build the workflow around chilling, clean handling and easy cleanup before spending on specialised machinery.
A reliable home room has a cold holding point, a washable bench, dedicated raw-meat boards, safe knife storage and packaging within reach. That arrangement prevents the common failure where the cutting itself goes well but the meat warms, the tools cross-contaminate other food, or the cleanup becomes so unpleasant that the next session gets postponed.
Core Equipment for Breaking Down and Processing Meat
Start with the tools that change the job, not the tools that look impressive in a catalogue. A sharp boning knife, a breaking knife, a honing steel, a stable board and a dependable thermometer will handle a surprising amount of work. Add machinery when the volume, cut style or repeatability justifies it.

Match the machine to the task
A meat bandsaw earns its bench space when you regularly portion bone-in cuts, ribs or large sections. It produces straight, repeatable cuts with less wrestling than a hand saw, but it also demands careful guarding, cleaning and operator discipline. For occasional processing, a sturdy manual meat saw may be the more sensible choice because it takes less space and has fewer parts to maintain.
A meat mincer is useful for trim, burgers and sausage mix. Chill the meat and trim sinew before mincing. A mincer that strips down easily is usually more valuable in a home room than one with features you won't use, because cleaning every food-contact component is part of the process.
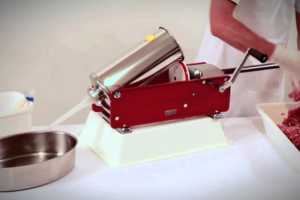
A sausage filler improves control over the casing. A mincer attachment can work for small batches, but it often pushes the mixture unevenly and introduces more air. A dedicated filler gives you steadier pressure, cleaner links and less frustration when the casing starts to wrinkle.
Storage equipment finishes the job
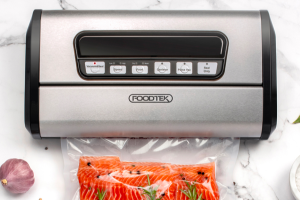
A vacuum sealer is only as effective as the bags and the preparation around it. Portion steaks, mince and sausages before sealing, wipe the sealing area dry, and leave enough clear film for a reliable seal. Vacuum packaging reduces air exposure and helps protect frozen meat from freezer burn, but it doesn't replace rapid chilling or clean handling.
Use a thermometer alongside the machinery. Australian Food Standards guidance for home-based food businesses says potentially hazardous food such as meat must be kept at 5°C or colder, or 60°C or hotter, during receipt, storage, display and transport. It also states that minced meat should reach 75°C in the centre and that food should be checked with a thermometer.
For a practical buying sequence, begin with knives, board, steel, thermometer and packaging. Add a mincer when trim routinely accumulates, then a filler when sausage batches become regular. A bandsaw should come later unless bone-in portioning is central to the way you process.
For a broader equipment comparison, see this guide to butcher supplies in Australia, then compare footprint, cleaning access, replacement parts and after-sales support rather than motor size alone.
Choosing the Right Aprons and Protective Gear
Raw meat work is wet, cold and hard on clothing. Blood, fat, rinse water and repeated contact with benches will expose weak fabric quickly. The best apron isn't the thickest one. It's the material that protects you without restricting the movements you repeat all morning.
| Material | Waterproof Rating | Flexibility in Cold | Best For | Lifespan |
|---|---|---|---|---|
| TPU | Strong waterproof barrier | Remains comparatively flexible | Wet processing and frequent wash-down | Long with proper cleaning |
| PVC | Strong waterproof barrier | Can feel stiffer in cold conditions | Heavy wet work and general meat handling | Long, but inspect for cracking |
| Waxed canvas | Water-resistant rather than fully waterproof | Comfortable and flexible | Dry trimming and lighter bench work | Long when kept clean and rewaxed as needed |
| Leather | Not intended as a waterproof barrier | Durable but can become rigid when cold or wet | Abrasion-heavy dry work | Long with careful maintenance |
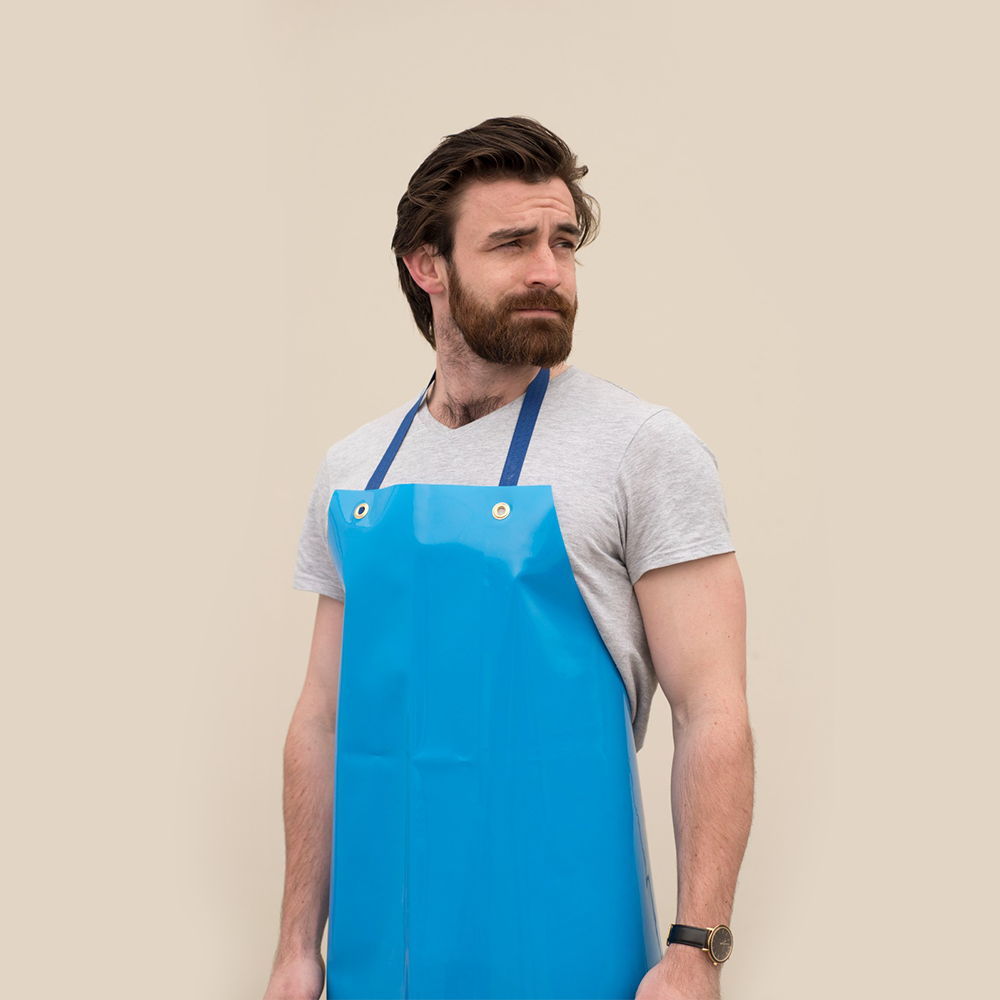
TPU and PVC make sense where water and contamination are constant. TPU generally feels easier to move in, while PVC provides a strong barrier but can become less comfortable as temperatures drop. Waxed canvas is more pleasant for dry work, but it shouldn't be treated as a substitute for a waterproof apron during wash-down. Leather handles abrasion well, yet it absorbs moisture and is harder to clean thoroughly than a smooth synthetic surface.
A TPU versus PVC food-processing apron comparison is useful when you're choosing between waterproof materials, especially if the apron will be used for both cutting and cleaning.
Protect the parts an apron can't cover
Sleeve protectors stop forearm contact with wet meat and dirty surfaces. Choose a length that stays in place without catching on handles, hooks or machinery. Fastening matters too. Hooks are quick to remove, while straps and buckles can offer a more secure fit during repetitive work.
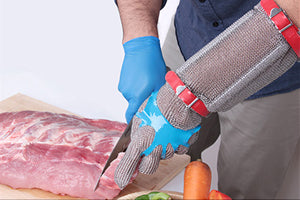
For knife handling, use a properly fitted cut-resistant glove where the task and your technique call for it. A glove doesn't make careless cutting safe, and a loose glove can become a nuisance around moving equipment. ACT WorkSafe recommends cutting on a flat surface on a firm bench, cutting away from the body, keeping knives sharp and clean, storing them in sheaths, blocks or wall strips, and using suitable cut-resistant gloves, aprons or mesh gloves. Its guidance on cuts in hospitality and tourism supports treating PPE as part of the work method, not as a replacement for it.
Bandsaw work brings additional hazards. Eye and face protection can help shield against fragments and splashes, while hearing protection is sensible around powered machinery. Cheap PPE often fails at the points that matter most, such as split seams, brittle coatings, stretched straps or surfaces that can't be washed clean. Check those details before buying.
Consumables and Packaging That Keep Meat Safe
Consumables decide whether a well-cut batch stays in good condition. Vacuum bags, labels, casings, cleaning products and disposable barriers should be organised before the first cut, not hunted down after the mince is already on the bench.
Choose bags designed for your sealer and intended for food contact. Smooth chamber-machine bags and textured external-sealer bags aren't automatically interchangeable, so test the seal before filling the freezer. Pack portions that suit the way you'll cook them. A large bag of mince may save film, but smaller flat packs chill, stack and thaw more conveniently.
Natural casings need more care than a casual rinse. Australian guidance says importing natural sausage casings requires a permit. It also states that casings must travel in clean, sealed containers, remain stored for at least 30 days after slaughter before release from quarantine, and then receive treatment in Australia using a 2% lactic or citric acid solution, or a citric-acid buffered system at pH 5.3 for 10 hours. Those requirements are set out in the Australian guidance for safe retailing of meat and meat products.
Cleaning products need a controlled place
Use a food-suitable sanitiser according to its label and the supplier's instructions. Don't guess the concentration, mix chemicals casually or treat a strong smell as proof that a surface is safe. Clean visible soil first, then apply the sanitising step to the bench, mincer parts, filler components and handles that contact hands during processing.
Food Standards Australia New Zealand hand-washing and cleaning guidance recommends washing hands with warm running water and soap, cleaning benches and utensils with hot soapy water before, during and after cooking, and separating boards and knives used for raw meat from those used for ready-to-eat food.
Keep casings, bags, labels and sanitiser in separate, clearly identified storage. Sustainable packaging options may help reduce waste, but packaging still needs to protect the product, seal reliably and suit the freezer. A thinner or supposedly greener option that splits during filling creates more waste, not less.
Setting Up Your Workspace for Safety and Efficiency
The best home meat room has a short, logical path from cold storage to cutting, processing, packing and cleaning. You shouldn't need to carry a tray of raw trim across a clean food-preparation area to reach the mincer. If space is tight, use time and thorough cleaning to separate tasks rather than pretending one crowded bench is several hygienic zones.

Create zones before you start
Place the raw-meat board closest to the cold holding point. Keep a separate area for sealed portions and a clear space for clean packaging. If you're working in a kitchen, remove unrelated food, utensils and appliances before processing begins.
Use a washable, stable surface. ACT WorkSafe advises cutting on a flat surface on a firm bench and cutting away from the body. A board that slides forces you to compensate with your free hand, while a poor bench height encourages awkward wrist and shoulder positions.
Knife organisation should be visible but secure. A wall strip, block, sheath or knife pouch can prevent blades from disappearing under cloths and packaging. A butcher belt or pouch is useful when you're moving between stations, but never leave exposed blades where another person can reach them accidentally.
Control temperature with measurement
Keep raw and cooked high-risk foods at 5°C or colder, and hot-held food at 60°C or hotter, as outlined in Australian public health temperature-control guidance. NSW meat retail guidance adds product-specific limits of no warmer than 7°C at carcase surfaces and 5°C for smaller chilled meat portions.
The practical consequence is simple. Bring out only the section you're actively cutting, return finished portions to chilled storage promptly, and use insulated transport when meat has to move between locations. Check the centre or product surface with a calibrated thermometer rather than relying on how cold the meat feels.
Make sanitation easy to repeat
Keep hot soapy water, clean cloths, sanitiser and waste containers within reach. Wash tools between raw and ready-to-eat tasks, and don't place a clean knife on a surface that held unwrapped trim. CSIRO home food-handling advice on separating raw and cooked foods reinforces the need for separate boards and utensils unless they've been thoroughly washed.
A compact layout might use one folding stainless bench, one raw board, a portable mincer beside the packing area and a sink station immediately behind you. A larger room can separate cutting, processing and packing permanently. Either way, the layout works when every tool has a home and every dirty item has a direct route to washing.
Legal and Compliance Boundaries Every Home Butcher Must Know
A clean apron doesn't make home-kill meat legal to sell. That assumption causes more trouble than a missing specialist knife because it confuses the condition of the equipment with the status of the product and the activity.
NSW states that home kills aren't regulated under food legislation, can't be sold, and aren't stamped as fit for human consumption. The NSW Food Authority's home-kill guidance explains the boundary directly. Queensland takes a different wording but a similarly serious position, stating that home-kill meat has no hygiene or processing standards and no assurance of suitability for consumption.
Decide the lawful workflow first
Processing for private consumption is a different situation from preparing meat for customers, visitors or off-property distribution. Before buying supplies, identify who will receive the meat, where it will be stored, how waste will be managed and whether any sale or commercial service is involved.
That decision affects the equipment you need. A waterproof apron, washable gloves and a vacuum sealer support cleaner handling, but they don't create an approved processing environment. A food-grade label describes a material or intended use. It doesn't authorise the sale of home-kill meat or guarantee that the entire handling chain meets a regulatory standard.
Commercial operators should work from an appropriate food-safety system, record temperatures, control suppliers and manage cleaning consistently. PSC TRADING Co PTY LTD describes its range across meat-processing equipment, PPE, aprons, packaging and sanitisation products, while its food-safety and HACCP commitment in Australia provides context for how those categories fit into a controlled processing environment.
Treat state advice as a starting point
Rules can differ by state and by the intended destination of the meat. If you're unsure whether a farm service, gift, private gathering or paid activity falls within the permitted boundary, contact the relevant state authority before processing. Don't rely on a product description, an online shopping list or advice written for another jurisdiction.
The responsible supply choice follows the legal decision. For private use, prioritise cleanability, chilling, safe storage and waste control. For commercial use, confirm the premises, process, records, equipment and approvals before purchasing machinery or packaging.
Building Your Home Butcher Supplies Checklist
Buy in layers. The first layer should let you cut, chill, clean and store safely. The next should remove bottlenecks. Advanced machinery only makes sense when it fits your volume, space and cleaning capacity.
- Essential tools: Boning and breaking knives, honing steel, stable cutting board, thermometer, knife storage and washable apron.
- Processing gear: Mincer for regular trim, sausage filler for consistent casing work, and a bandsaw when bone-in portioning warrants it.
- Safety and storage: Cut-resistant hand protection where appropriate, sleeve protection, eye protection for machinery, vacuum bags, labels and adequate chilled or frozen capacity.
- Workspace basics: Washable bench, strong lighting, separate raw and ready-to-eat boards, waste containers and a nearby cleaning station.
- Budget and sourcing: Compare replacement parts, bag compatibility, cleaning access, warranty terms and supplier support. Used equipment can be sensible when guards, electrical safety and food-contact surfaces are sound.

Keep a simple stock list for bags, labels, casings, sanitiser and gloves. Run the list before each breakdown, and replace consumables before they reach the final packet. The smartest purchase is rarely the biggest machine. It's the item that keeps the workflow cold, clean, lawful and repeatable.
Before your next breakdown, check the legal position in your state, prepare a clean zoned workspace, verify your thermometer and lay out every consumable you'll need. Then choose home butcher supplies that match the work you do, starting with reliable knives, protective gear, safe packaging and temperature control before adding machinery.
